Loading...
Are you sure?
Are you sure you want to remove this item from your shopping cart?
Checkout using your account
Checkout as a new customer
Creating an account has many benefits:
- See order and shipping status
- Track order history
- Check out faster
Loading...
How to remove a digital / smart main control
Please see the instructions below for each digital/smart shower:
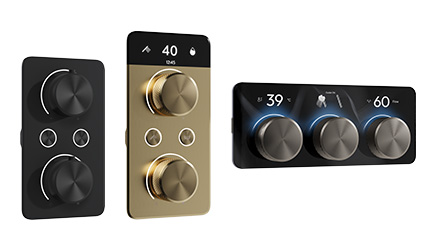
S1, S2 & S3
- Ensure the unit is powered off
- Gently lift the controller upwards to disengage the hooks, taking care not to strain the data cable.
- Carefully pull the controller away from the mounting bracket and wall.
- The cable can now be pulled out of the back of the control. If replacing the control, the cable must be firmly pushed into the control to ensure a good connection and seal.
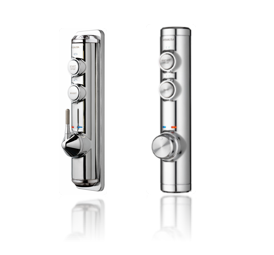
Quartz
- On the underside of the control, you will see a single self-retaining screw with a cross-head – loosen the screw to release the control.
- Carefully slide the control upwards and away from the mounting plate to expose the data cable.
- The cable can now be pulled out of the back of the control. If replacing the control, the cable must be firmly pushed into the control to ensure a good connection and seal.
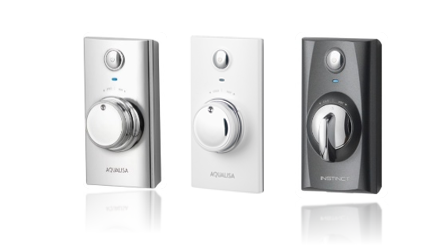
Visage
- On the underside of the control mounting box, you will see 2 self-retaining screws with cross-heads – remove the screws to release the control.
- The top of the control has lugs that lock into the mounting box - carefully slide the control downwards and away from the mounting box to expose the data cable.
- The cable can now be pulled out of the back of the control. If replacing the control, the cable must be firmly pushed into the control to ensure a good connection and seal.
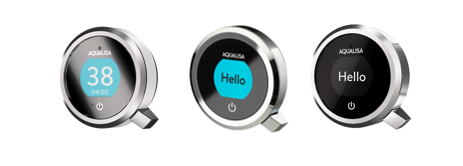
Quartz Touch
- On the underside of the control, you will see a single self-retaining screw with a cross-head – loosen the screw to release the control.
- Using the Q Lever, carefully rotate the control upwards anti-clockwise to release the control from the mounting plate lugs and expose the data cable*.
- The cable can now be pulled out of the back of the control. If replacing the control, the cable must be firmly pushed into the control to ensure a good connection and seal.
*If the model is a Q Smart or edition, the data cable will not be visible as this is fitted directly into the mounting plate. In this case, the control will have 4 gold pins that contact with the mounting plate to form a connection.
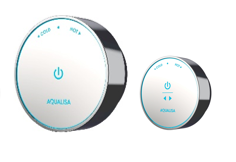
Quartz Blue
- On the underside of the control, you will see a single self-retaining screw with a cross-head – loosen the screw to release the control.
- Carefully slide the control away from the mounting plate to expose the data cable.
- The cable can now be pulled out of the back of the control. If replacing the control, the cable must be firmly pushed into the control to ensure a good connection and seal.
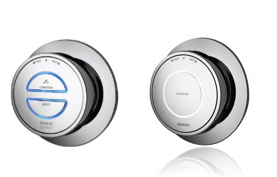
iSystem
- Dependent on the installation type, the control releases in 1 of 2 ways: Exposed control (rail through ceiling) / pre 2007 concealed models - Push the control upwards, and the retaining ring will move to release the control from its lower securing lugs. Concealed control - On the underside of the control, you will see a single self-retaining screw with a cross-head – loosen the screw to release the securing end cap.
- Carefully pull the control away from the mounting plate to expose the data cable.
- The cable can now be pulled out of the back of the control. If replacing the control, the cable must be firmly pushed into the control to ensure a good connection and seal.
Are you sure?
Are you sure you want to remove this item from your shopping cart?
Loading...